COVID-19 update from Encore Garage
Our showroom is now open daily! We continue to honor safety protocols while practicing social distancing. Come see us soon.
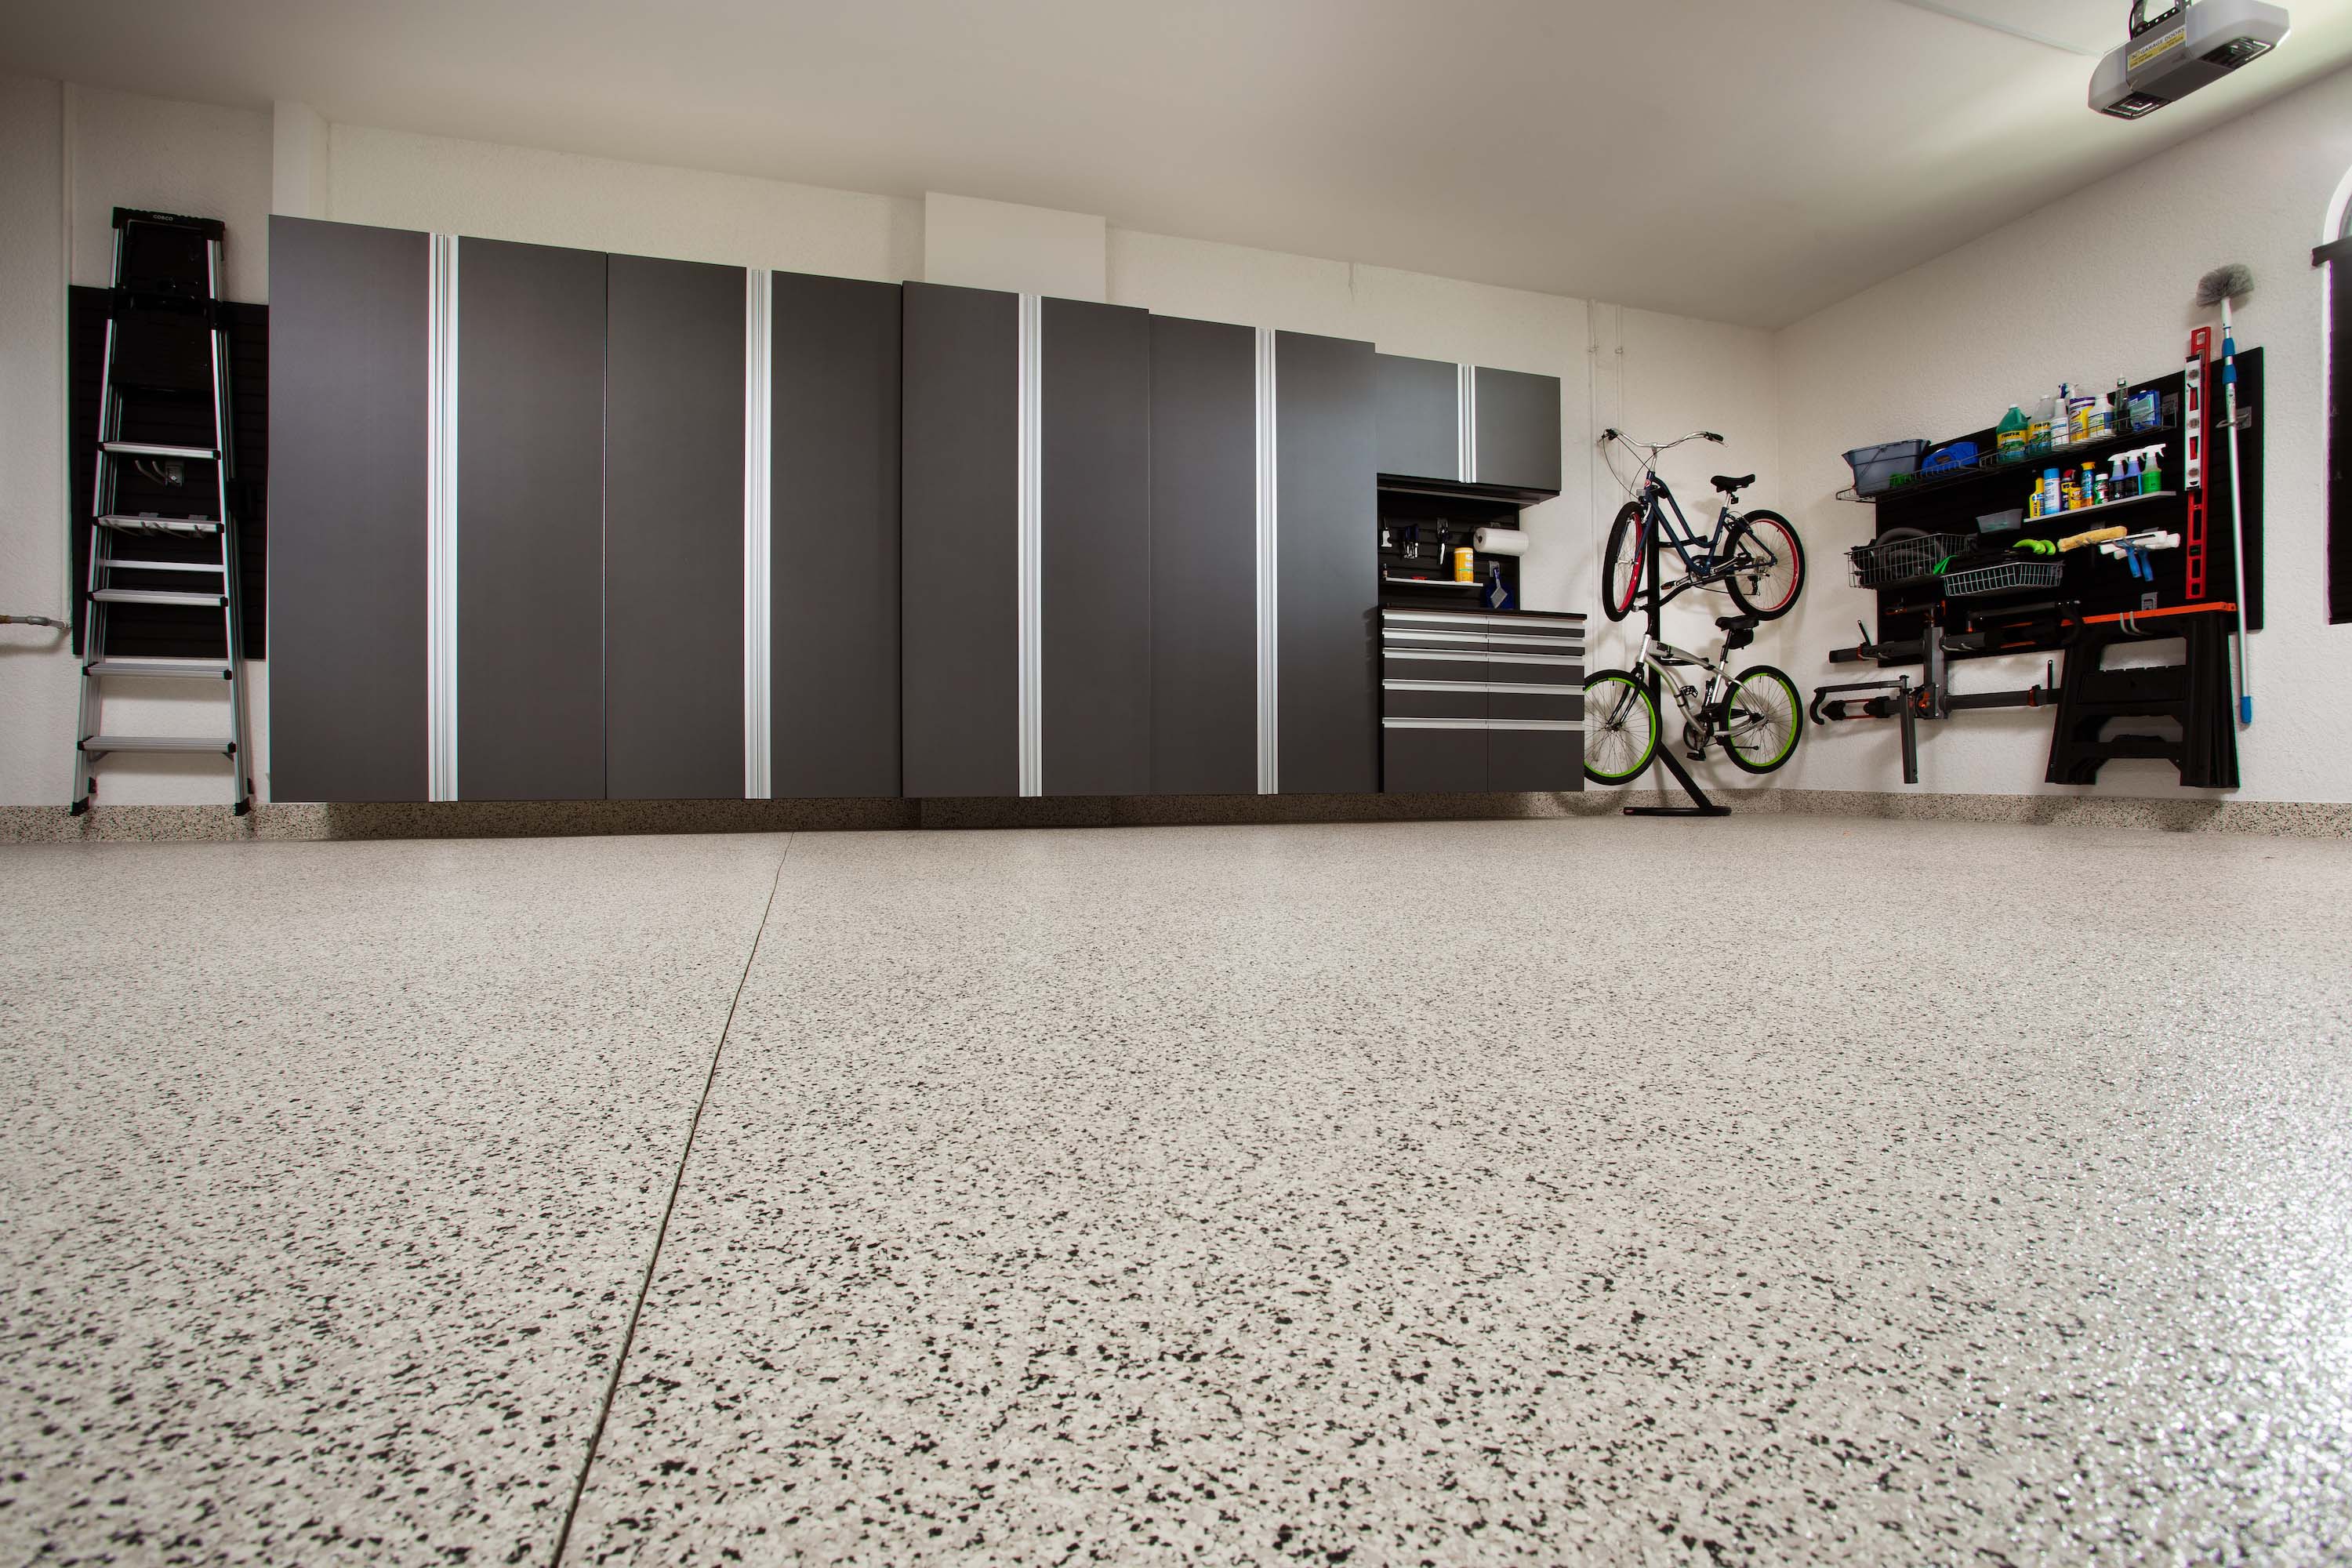
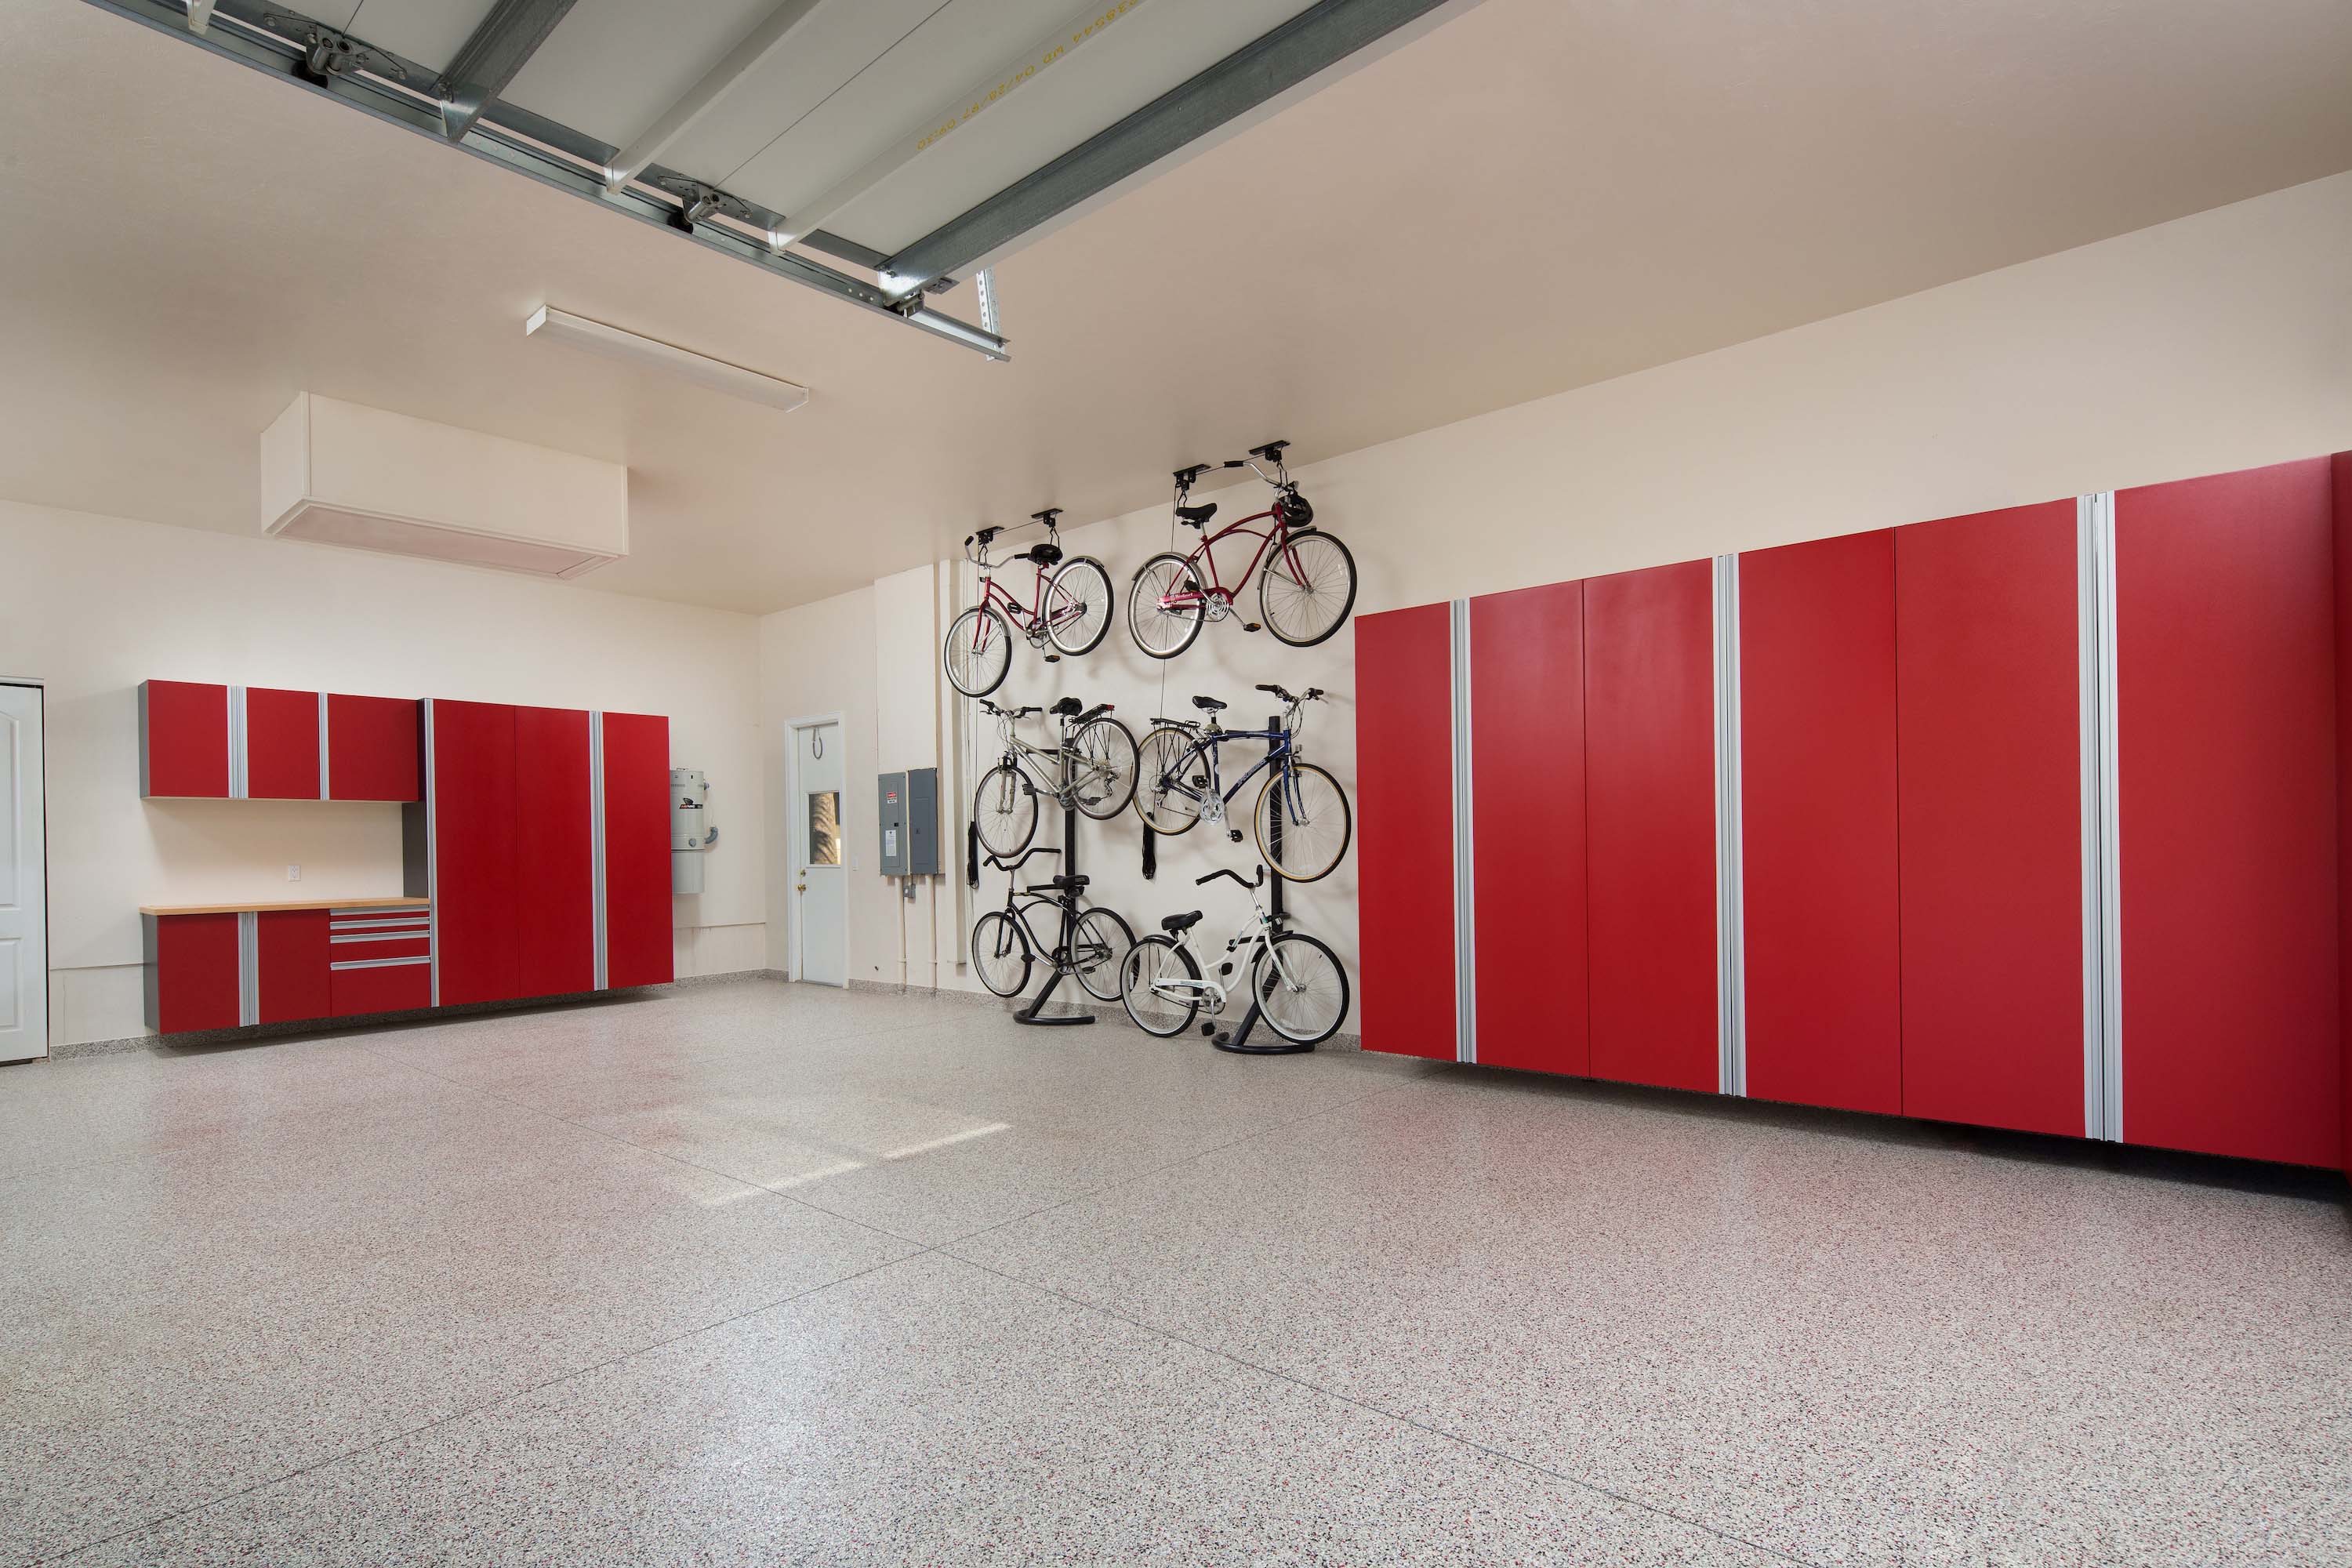
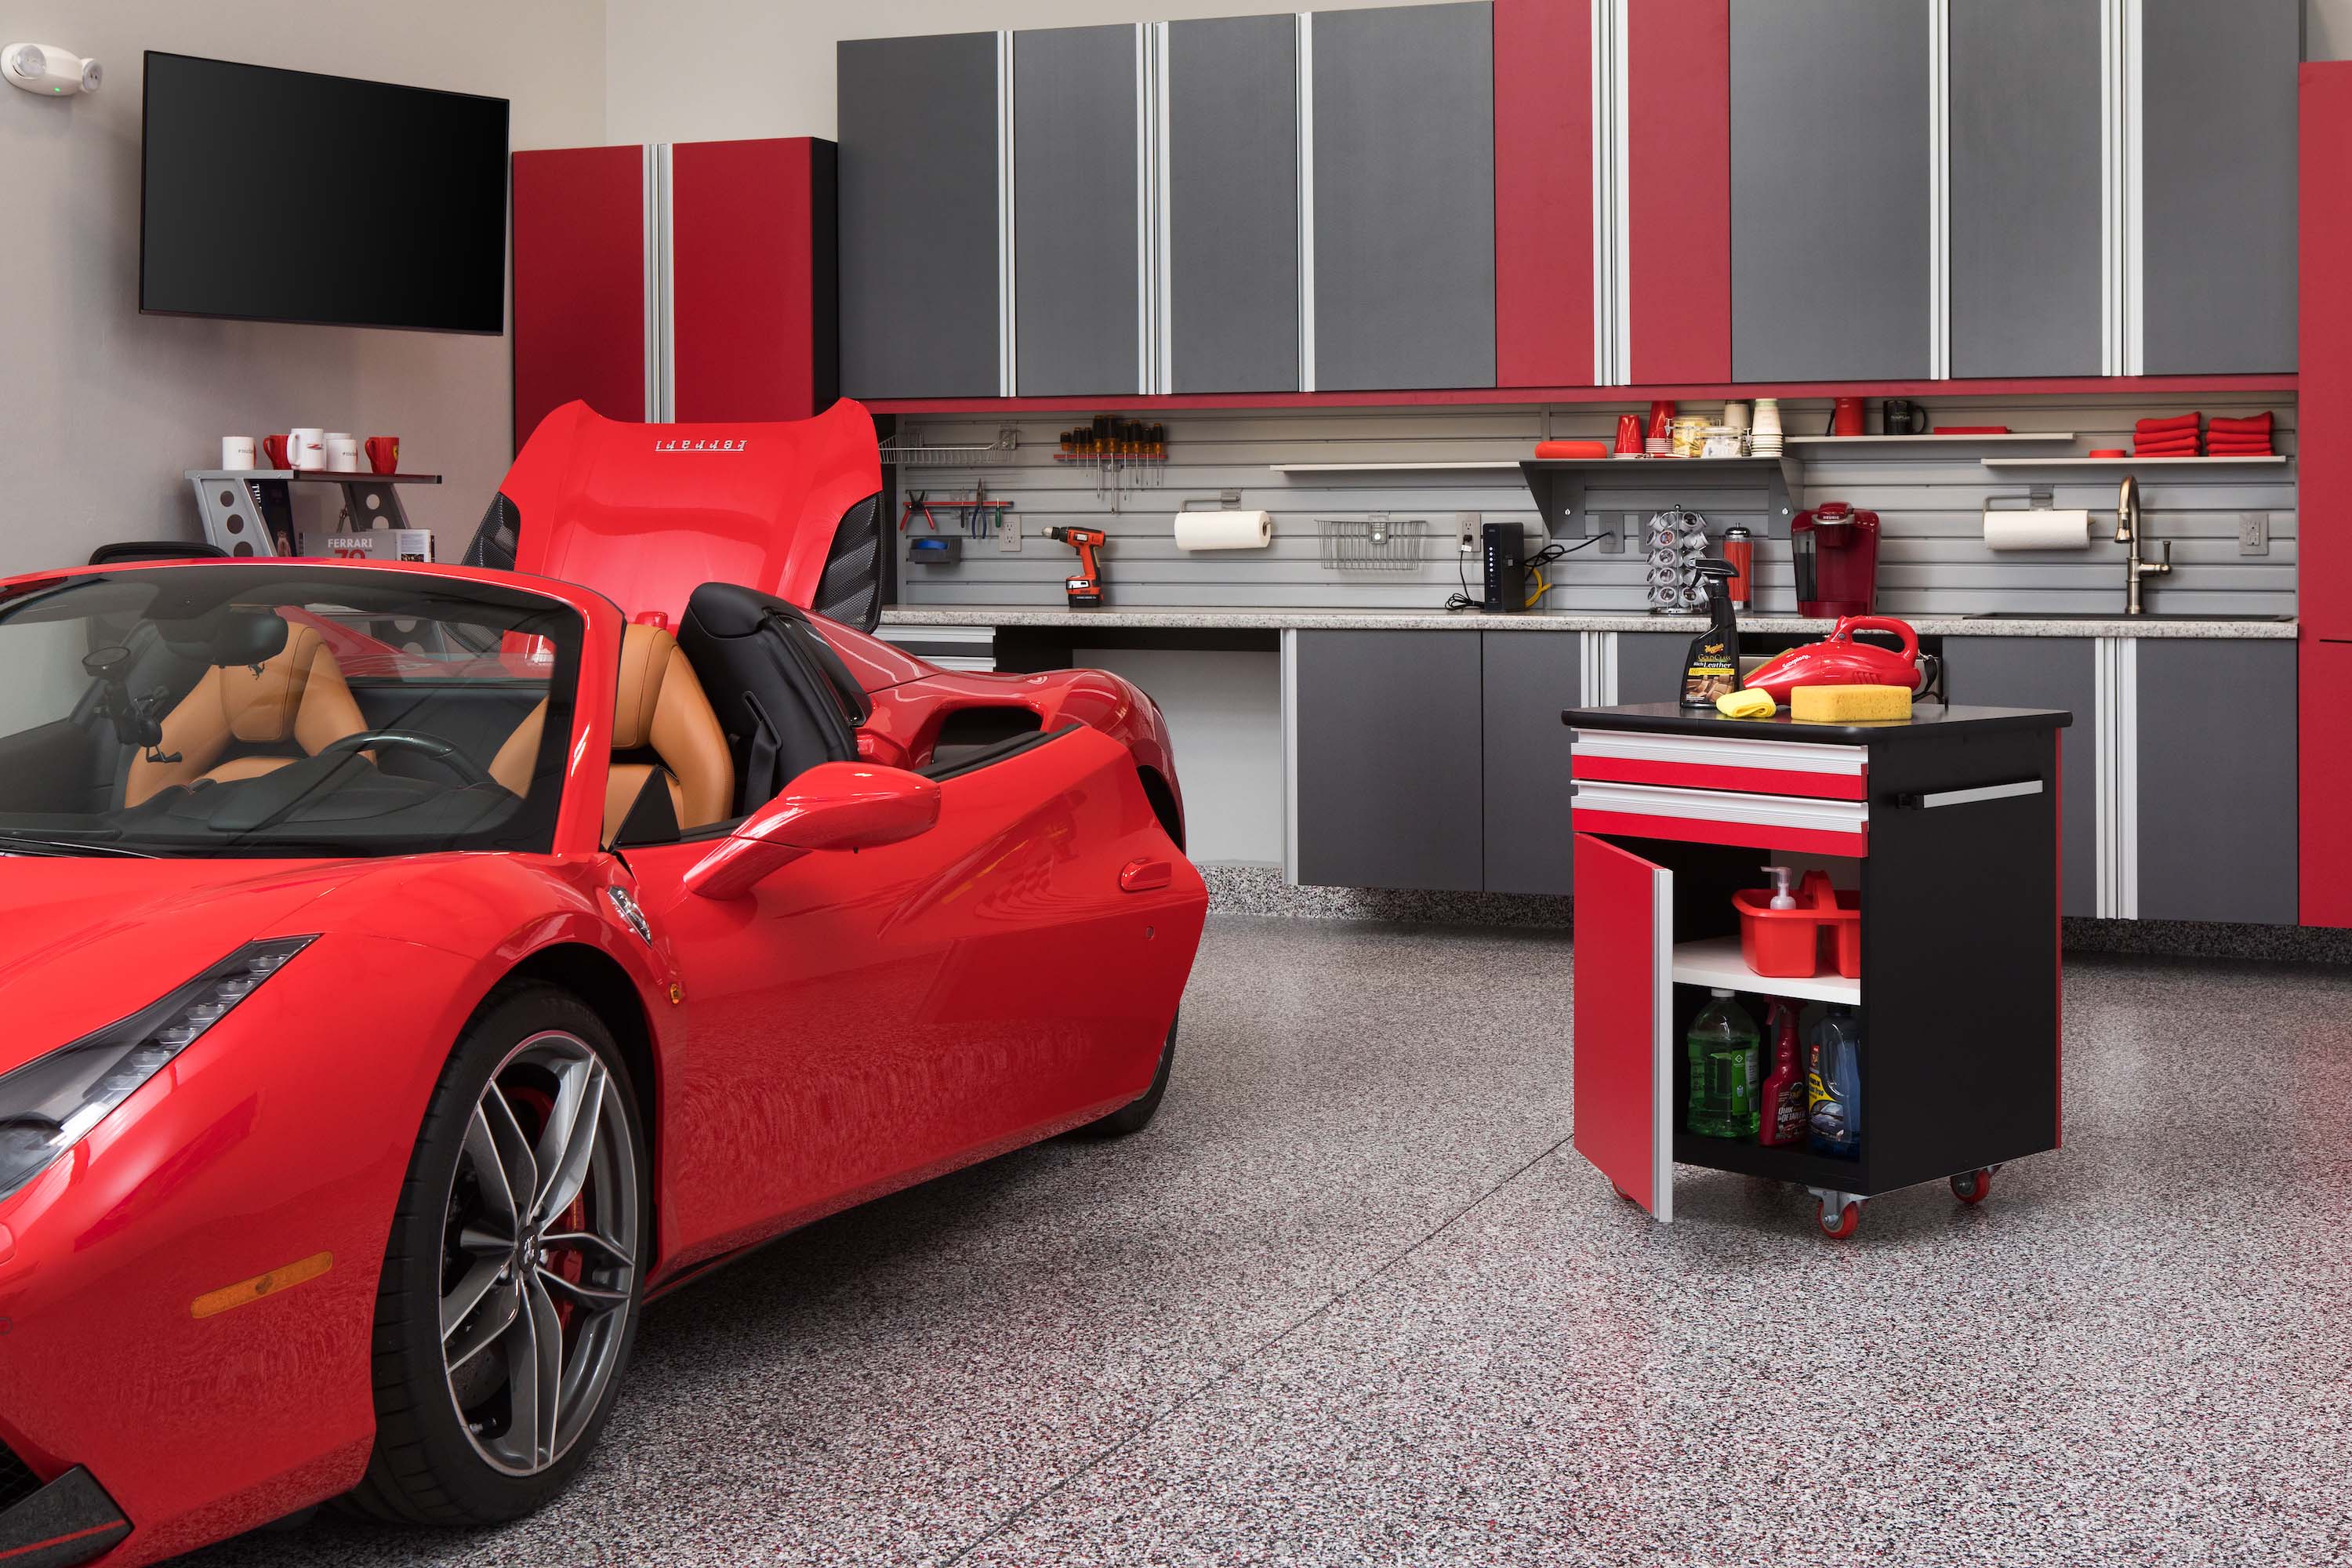
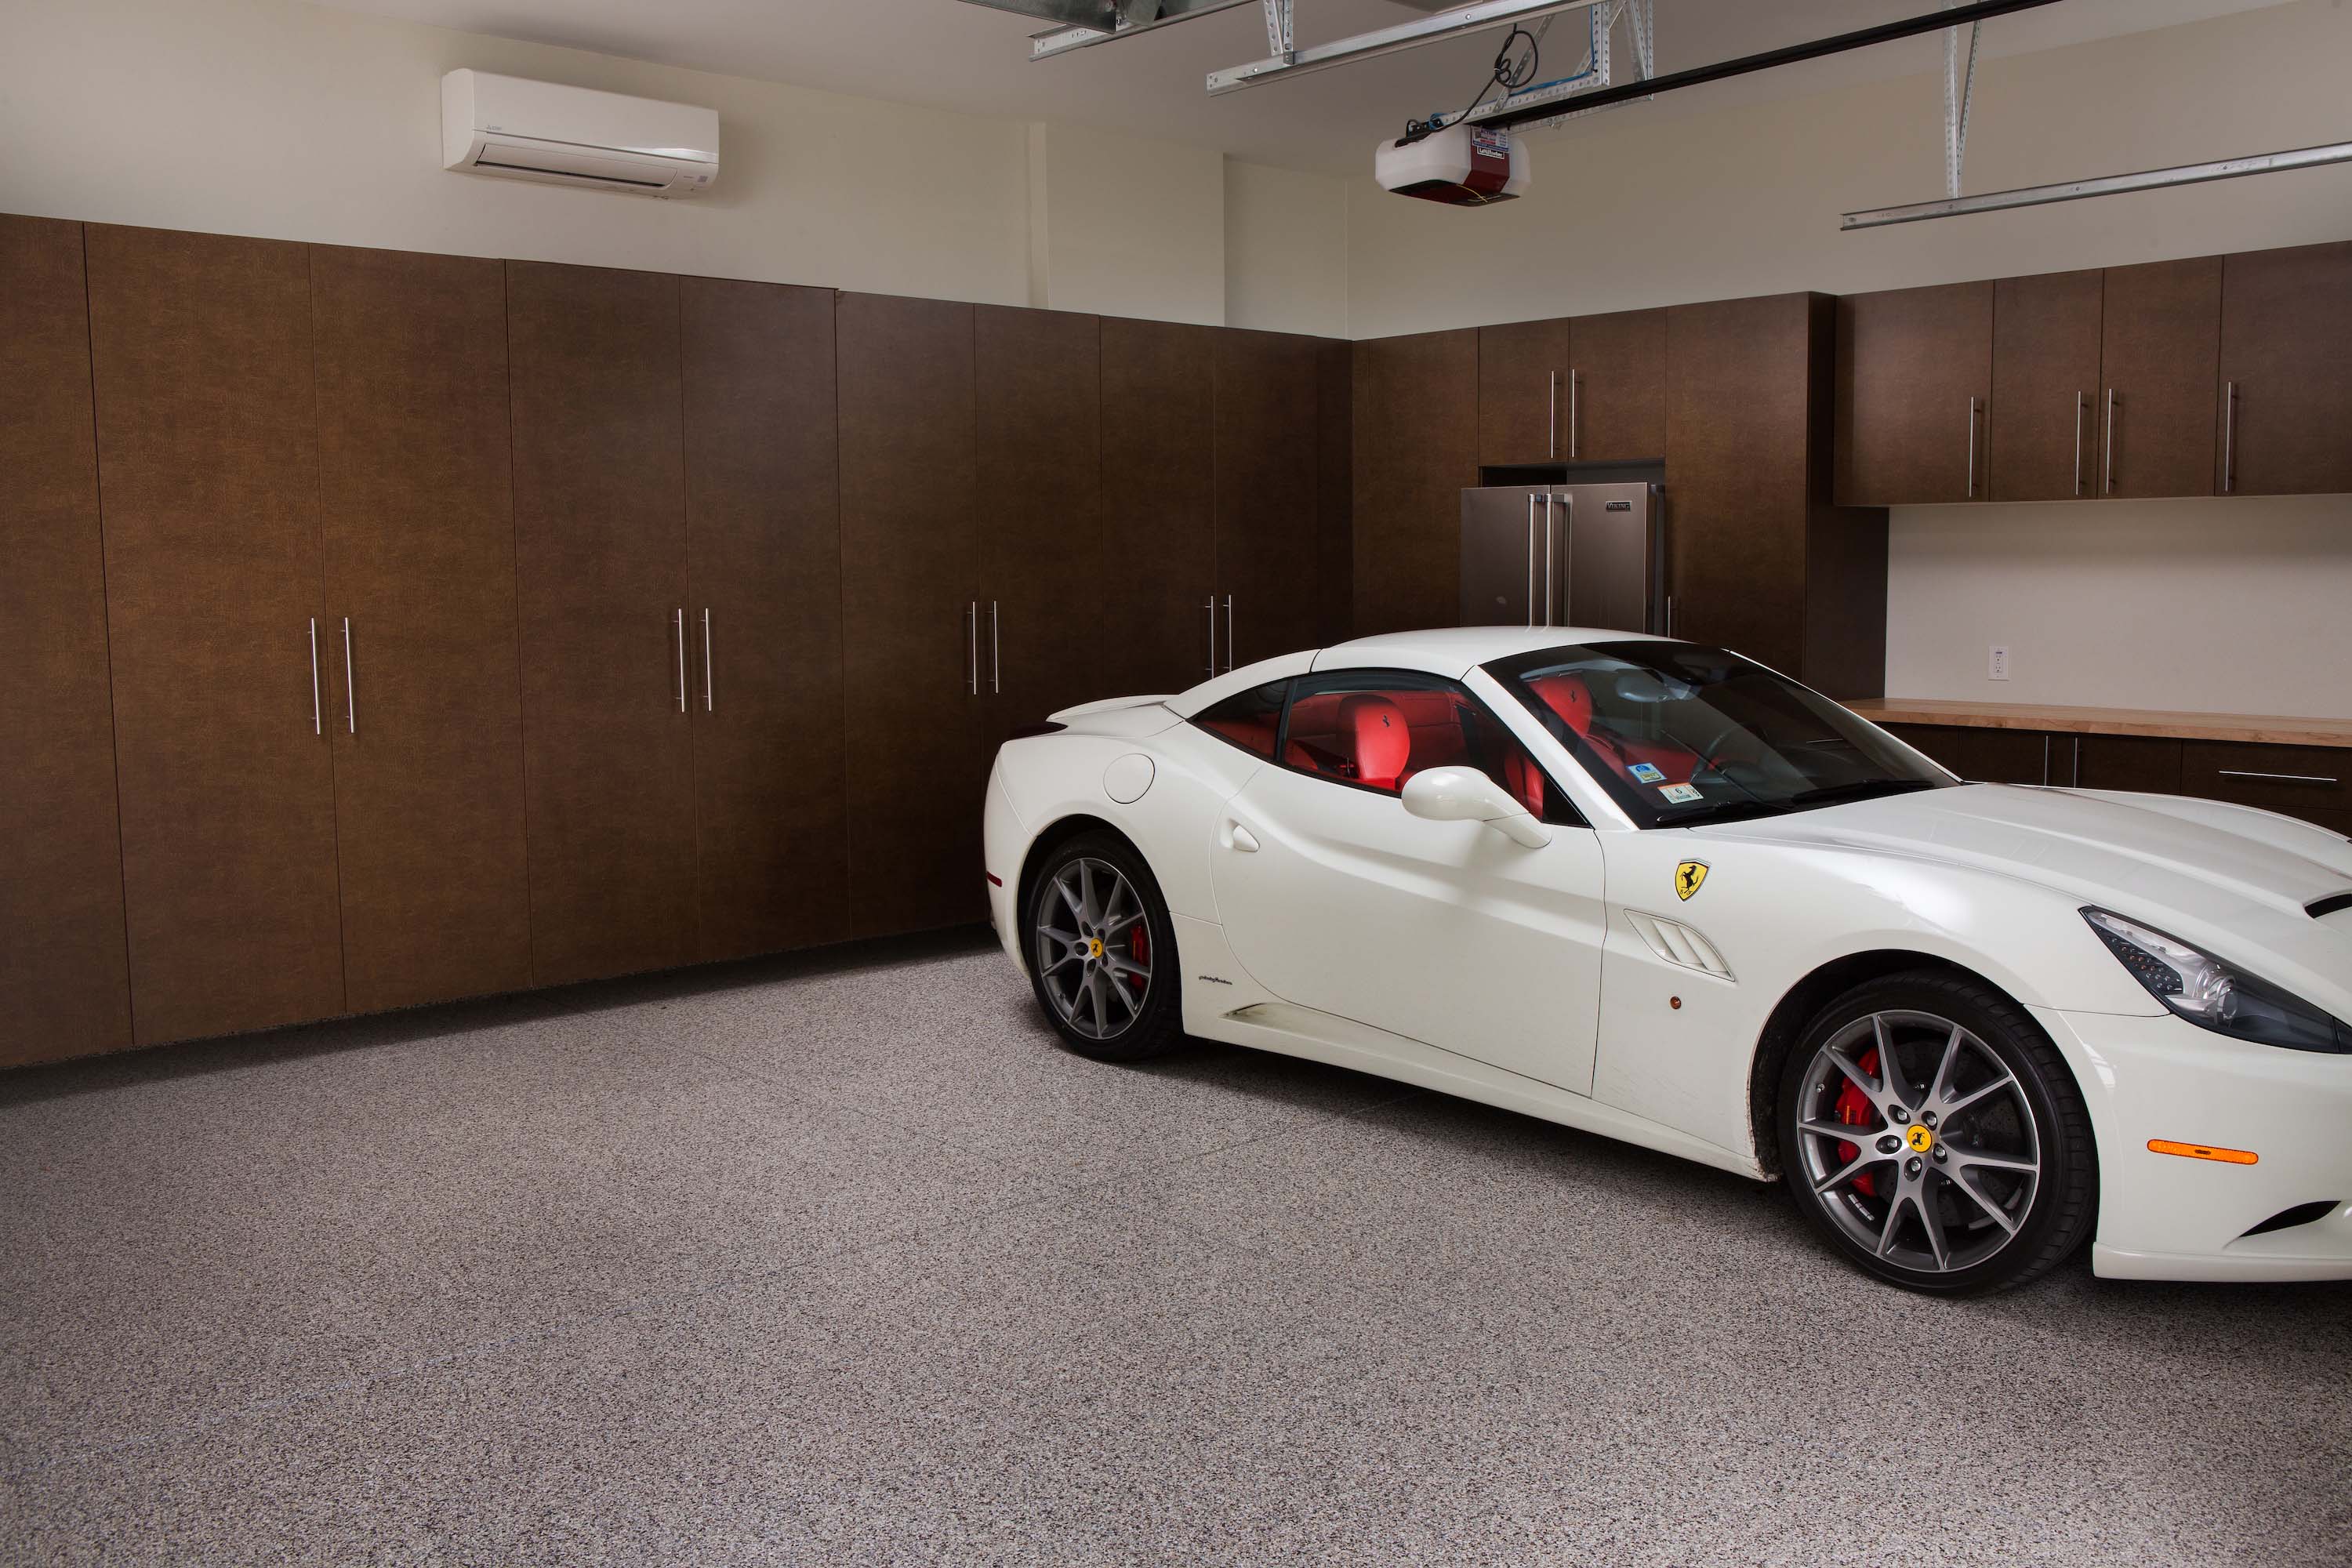
Flooring

Our Process
Over the years, we have tested a variety of alternatives and found that nothing beats the core strength of an industrial epoxy base combined with the flexibility of a Polyaspartic topcoat. While other firms may offer a one-day process using an “in and out” installation method with products that allow for quick application, we remain committed to the details of our two-day installation process that allows each layer to properly bond and cure. Taking the extra steps necessary, utilizing the highest quality products, and employing only full-time, highly trained technicians is what guarantees the integrity of the Encore system. It allows us to offer a lifetime warranty against lifting, chipping, or peeling on every residential floor we install.
Watch our Day 1 stepsTo start, we use diamond tip grinders to completely clean and prepare the concrete. Each crew carries a full range of diamond tooling so they can adapt to every type of concrete. This important step is vital in creating the proper surface for a durable bond and is a prime differentiator between our process and many other vendors in the market. After this first step, the concrete is like a sponge – ready to absorb and lock in the base layer of chemicals. Simple acid washes, sanding or brushing techniques do not create enough of a textured surface for durable bonding of any coating.
We test all floors for moisture content, applying a separate seal coat as needed. If any portion of the floor tests high, we seal the entire floor. While this moisture barrier adds a day to our process, we will not rush a job – ensuring that your floor will stand up to the challenging heat and humidity of Southwest Florida.
For any cracks, divots, or minor imperfections, we use an advanced, fast-curing polymer patching material to create a smooth surface. (Please note that we do not fill existing open expansion joints and strongly recommend that they remain in place.)
We then apply a pigmented base coat of an industrial-grade epoxy, made of 100% solids, to create the strongest possible bond with the exposed concrete surface. This is not retail grade, paint-on epoxy which will often peel and lift after only a short time – we use an industrial product sourced direct from a global manufacturer of flooring chemicals, with specific requirements for usage and application techniques. While there are a number of alternatives currently available, our epoxy is rated at over 7,500 PSI, more than twice the rating of most concrete. After 14 years of successful installations we have not found a product that bonds better with concrete floors in Southwest Florida.
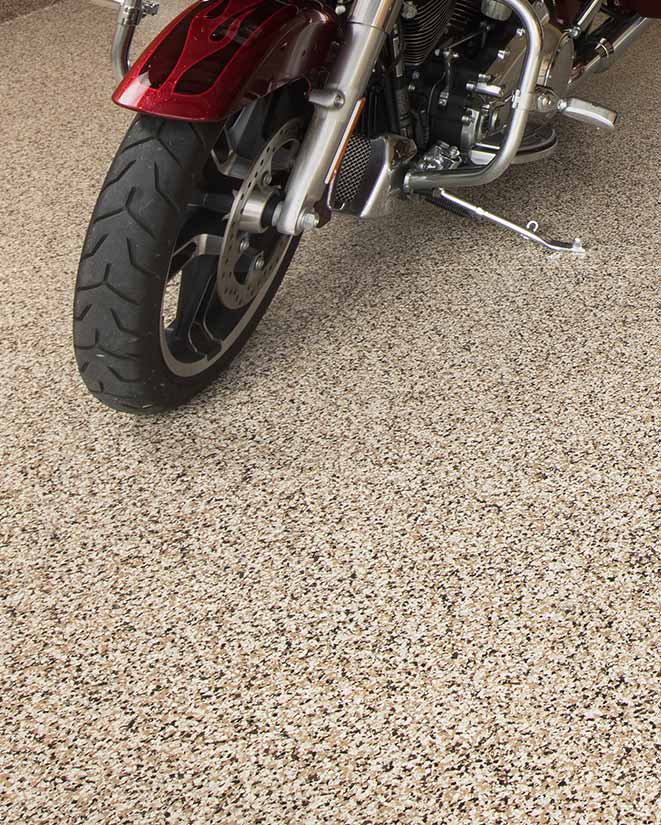
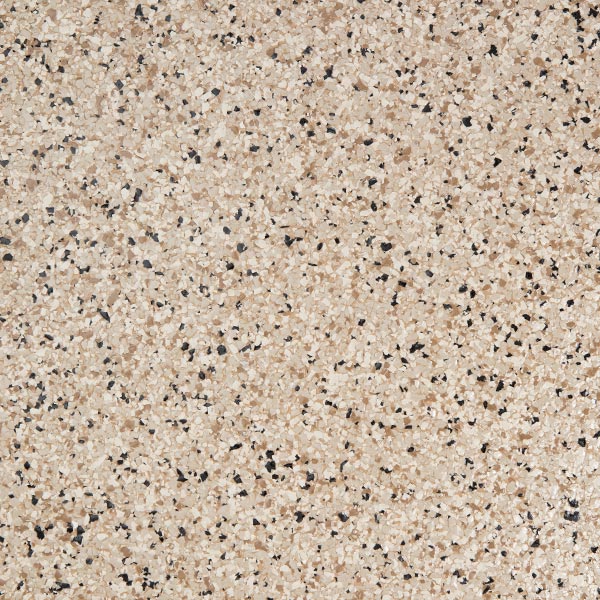
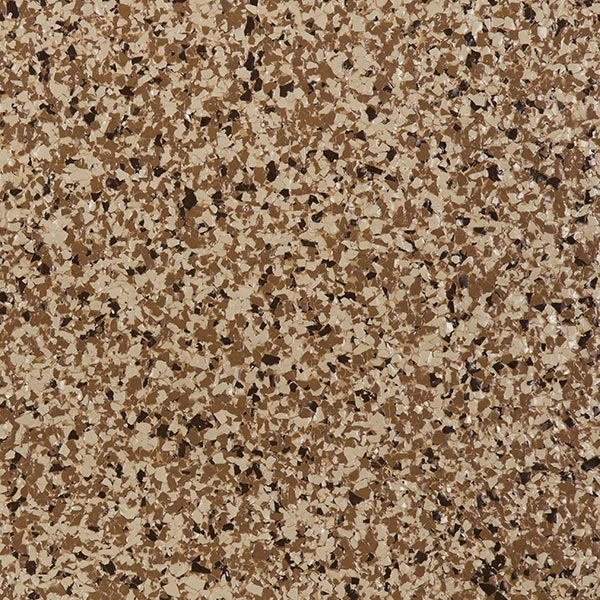
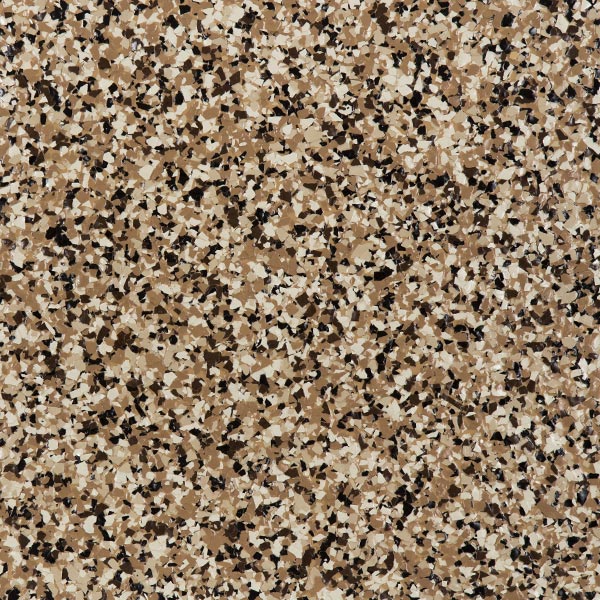
While the base coat is still wet, we completely cover the floor with a full broadcast of colored PVC flakes giving the floor its dynamic pattern. The floor is then left overnight to properly cure – forming the lasting foundation of our system. While we have over 20 different colored flake blends in stock and ready to go, your choices are truly endless. For a small upcharge, we can custom blend flakes to create the perfect look for your garage floor.
For clients interested in a truly seamless look, we offer matching “baseboard” molding that is custom made in our shop from water resistant cement backer board. Available in any height from 4” to 12”, our baseboard provides the added benefit of creating a water resistant “bowl” around the floor, making it exceptionally easy to clean the entire space with a garden hose with no worries of water damage to exposed drywall or wood molding.
Once cured, the excess flakes are scraped away to reveal the “orange peel” texture of the floor. Because we broadcast a thick layer of flakes on Day 1, our finished product achieves 95-98% coverage.
Our final step is a Polyaspartic topcoat. This is perfect for concrete floors in Southwest Florida because it is stain-resistant, will not yellow over time, and provides flexibility due to its strong elongation properties even when fully cured. Our topcoat has been specifically tested to work with high-performance tires even in our hot weather climate. Easy cleaning with ammonia and water or Simple Green will keep your floor looking great for years to come.
Once the topcoat is down, you can walk on the floor after eight hours and drive on it after 24 hours.
Flooring Key Benefits
Key features of our multi-layer flake flooring system:
- Beauty and durability: an attractive, high-quality floor that complements the design of your property
- An extensive range of standard and customizable options allow you to select a color blend based on your personal preferences
- The finished product has a non-porous finish with no crevices to trap dirt and grime. It is highly stain-resistant, even against high-performance tires
- The system is UV resistant and will not yellow over time
- It is easy to keep clean with regular sweeping and an occasional rinse with a hose. When needed, tougher cleaning can be accomplished with ammonia and water or Simple Green
- Will not chip, peel or lift, even under hot tires and is rated for commercial use
- We use mechanical grinders with diamond tooling for surface preparation which is the only way to ensure a proper bonding of our system to the concrete. It is far superior to an acid or solvent "wash" method often used by others in the industry
- We use only 100% solids epoxy base coat for our "foundational layer" because nothing penetrates the pores better or creates a stronger bond with the concrete. This ensures the floor will not blister or peel – even under the tires
- We use a full broadcast of vinyl chips for both appearance and added strength
- We use a Polyaspartic topcoat that has been specifically tested and proven to be effective in SWFL. The elongation properties give the system it’s flexibility and offer a high resistance to impact, abrasion and hot temperatures
- Our process is completed over two days followed by a 24-hour cure time – getting your garage back in service quickly
- Other than cleaning, there is no regular maintenance required
- You receive a complete warranty – materials and labor – against lifting, chipping, or peeling for as long as you own your property
Flooring Frequently Asked Questions
-
What type of flooring chemicals do you use?
We use a 100%-solids industrial epoxy with a built-in moisture barrier for the base coat, known for creating a superior bond to concrete. Our topcoat is a Polyaspartic coating that is highly stain resistant and remains flexible even when cured, resisting lifting and peeling.
-
Is the floor slippery?
While standard decorative flake floors do feature an “orange peel” texture, they should not be considered slip-resistant. For enhanced traction, we offer topcoat options with grip additive.
-
How do you prepare the floor before coating it?
We prepare all concrete through mechanical abrasion using high-powered diamond grinders – even brand-new concrete. This process cleans and opens the porous surface, which allows our base coat to penetrate throughout, creating a superior bond to start from.
-
Can you apply the coating over my current floor?
Unfortunately, we cannot apply our coating over existing coatings. We start with a pristine, freshly ground floor to ensure optimal bonding and longevity.
-
I have some cracks and pitting. Can you repair this condition?
Yes, we utilize a fast-curing polymeric patching system compatible with our coatings to repair cracks, divots, and pitting, restoring a smooth surface.
-
How long does the entire process take?
The floor installation typically takes two days. You can usually return your car to the garage within 24 hours after completion, depending on weather conditions.
-
What do we do with all our garage “stuff” while the work is being done?
We can provide a 6’ x 6’ x 12’ storage trailer for your belongings at no charge.
-
What is your payment policy?
We typically schedule projects 4-8 weeks in advance and request a 50% deposit to reserve your spot. The balance is due three days after completion, allowing you time to inspect our work.
-
What is the warranty?
Our residential garage floor coatings come with a lifetime warranty against lifting or peeling for as long as you own the property. This warranty covers both materials and labor.
-
How do I clean my new floor?
Regular sweeping or blowing-off loose dirt & debris with a leaf blower is highly recommended.
For deeper cleaning:
1. Mix a solution of five parts water with one part ammonia.
2. Apply with a deck brush and scrub lightly.
3. Rinse with a garden hose and squeegee off excess water.
4. Air dry.NOTE – Never use other household detergents or a power-washer on your epoxy garage floor. For tougher stains – CALL OUR OFFICE first.
-
How long will my floor last?
With proper care and normal use, your floor should last as long as you own the property.
-
Do the chemicals smell during installation?
While the Polyaspartic topcoat may emit some odor as it cures, it is non-toxic and typically dissipates over 1-2 days.
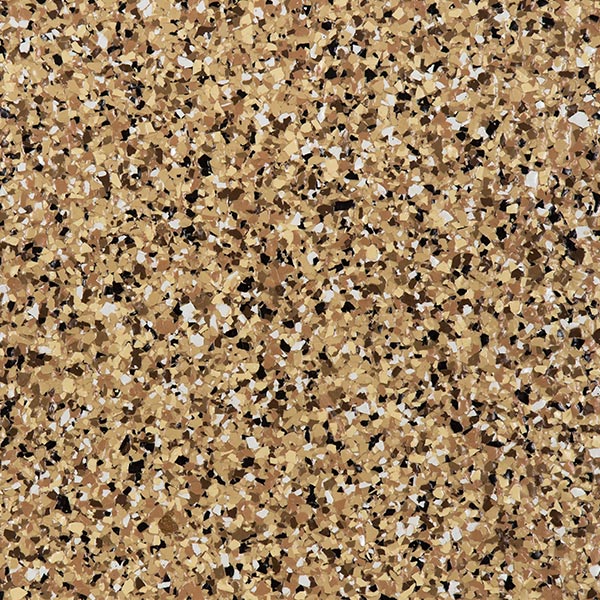
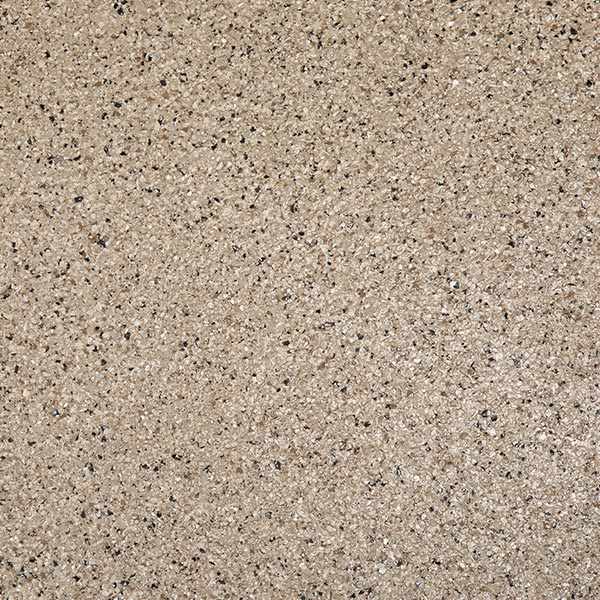
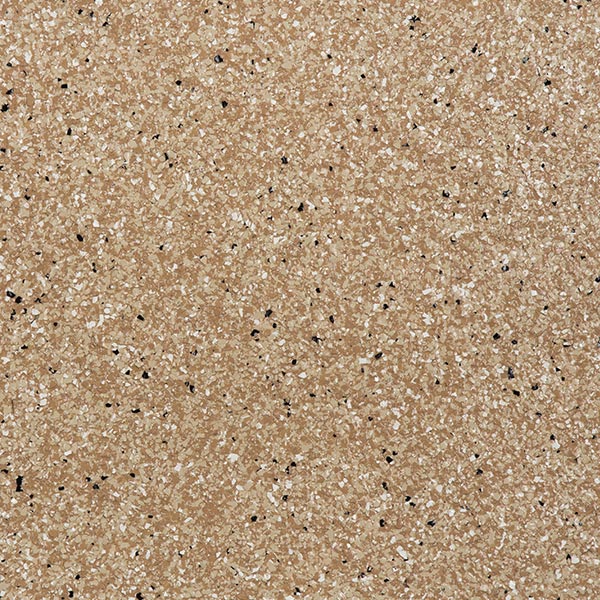
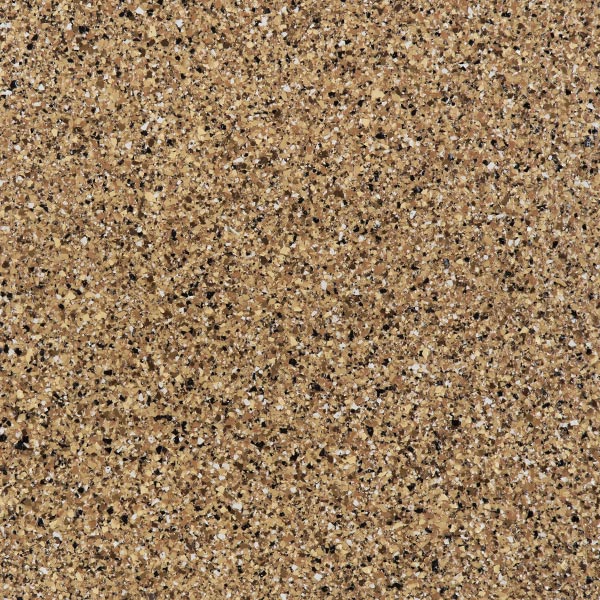
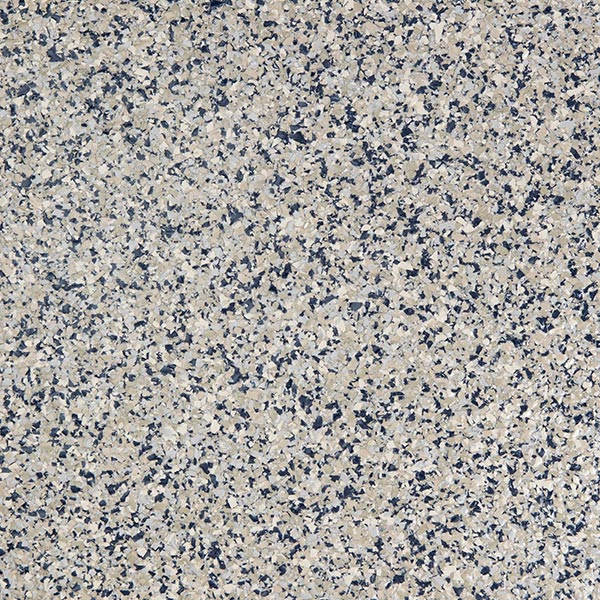
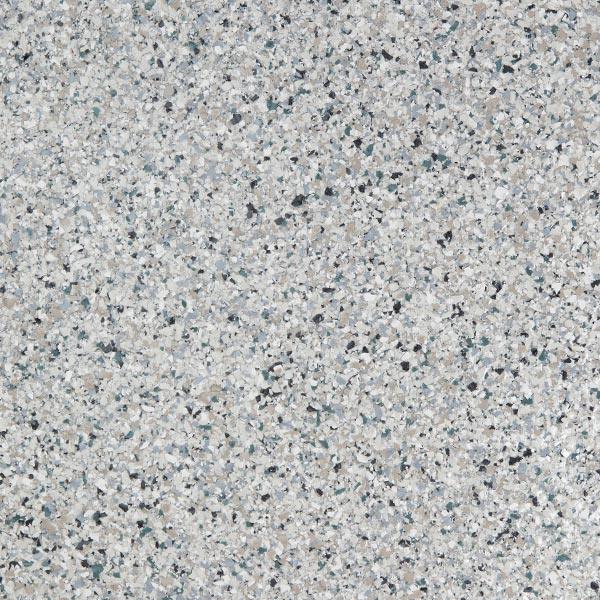
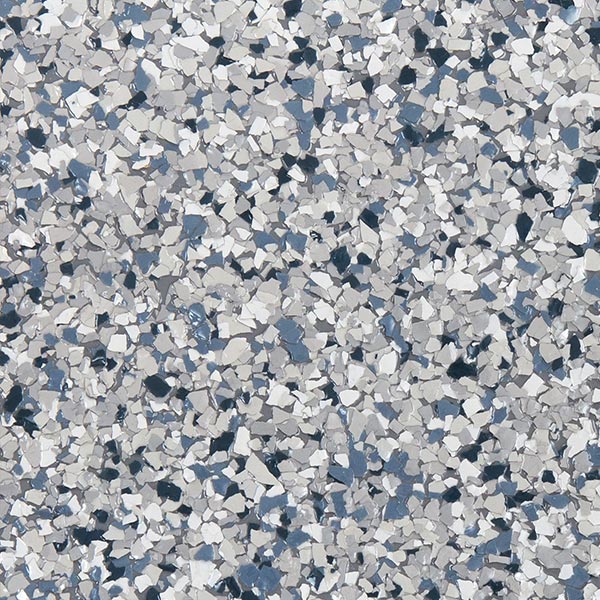
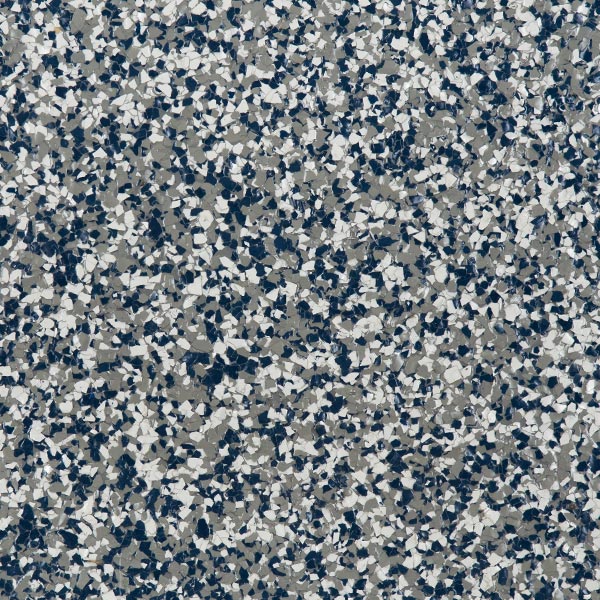
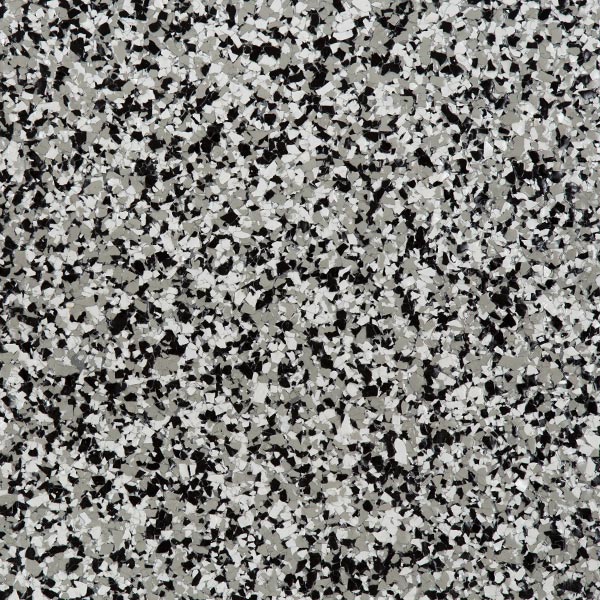
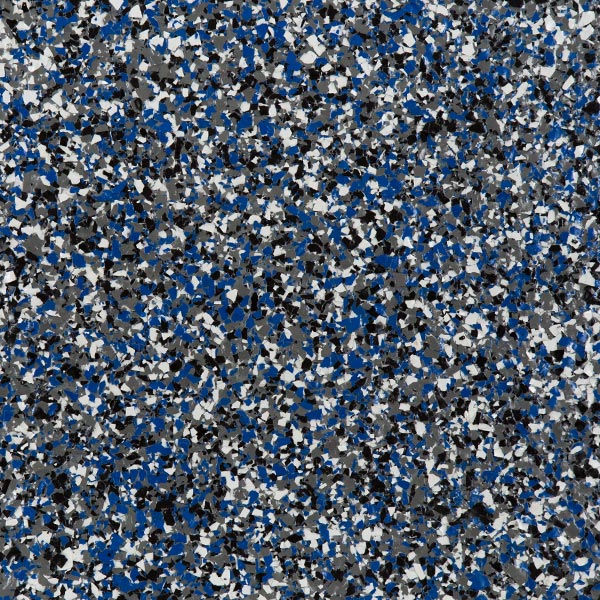
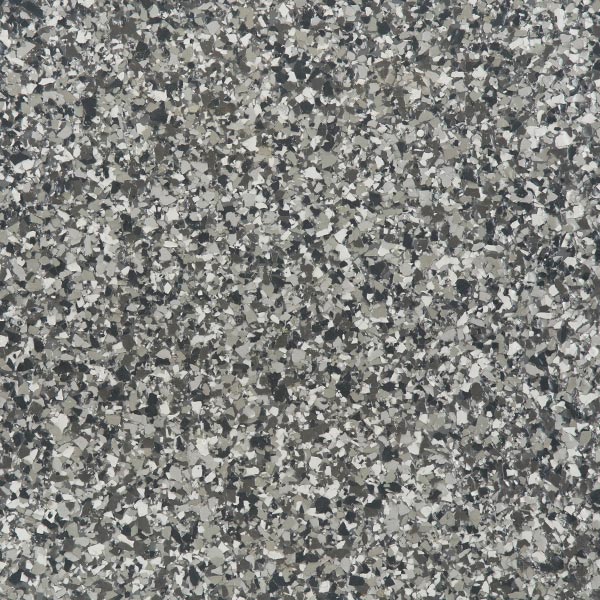
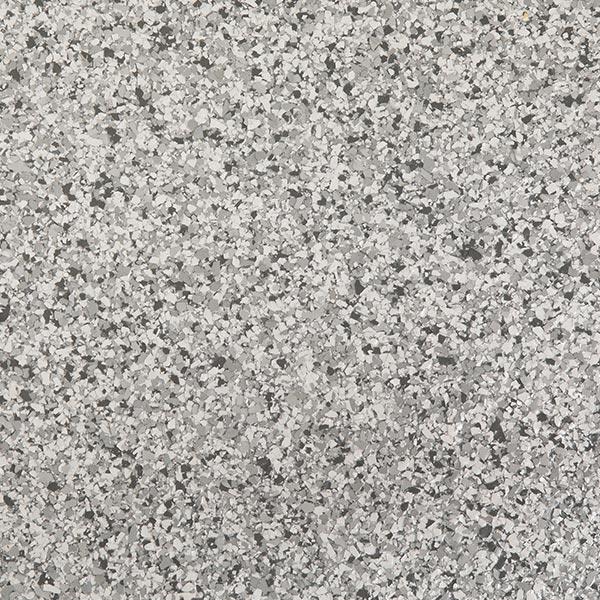
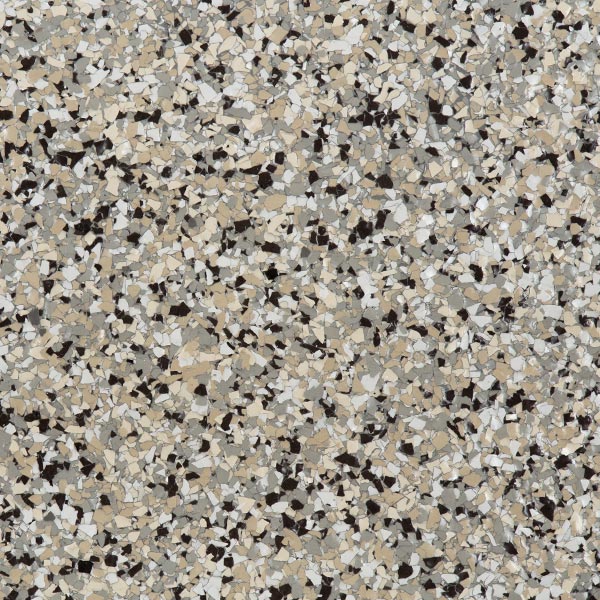
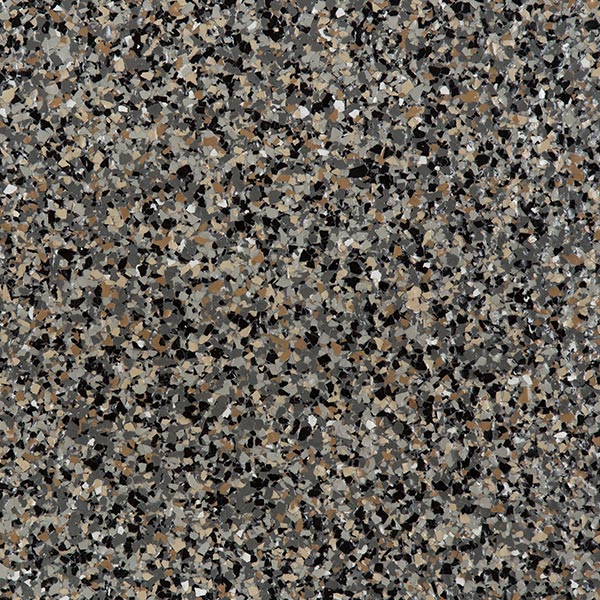
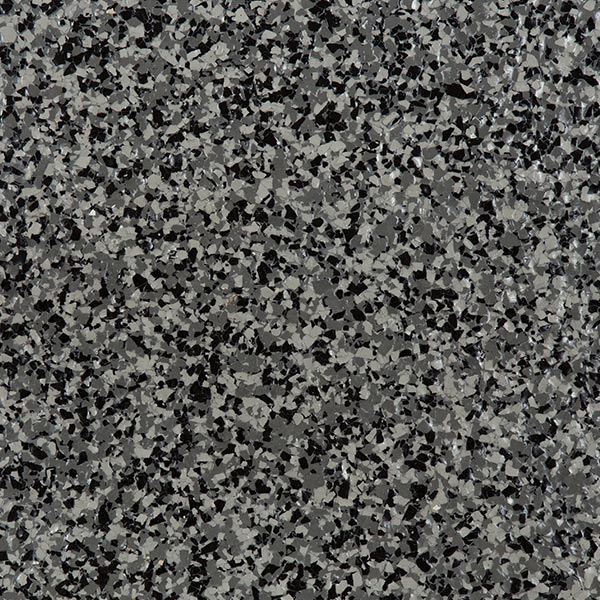
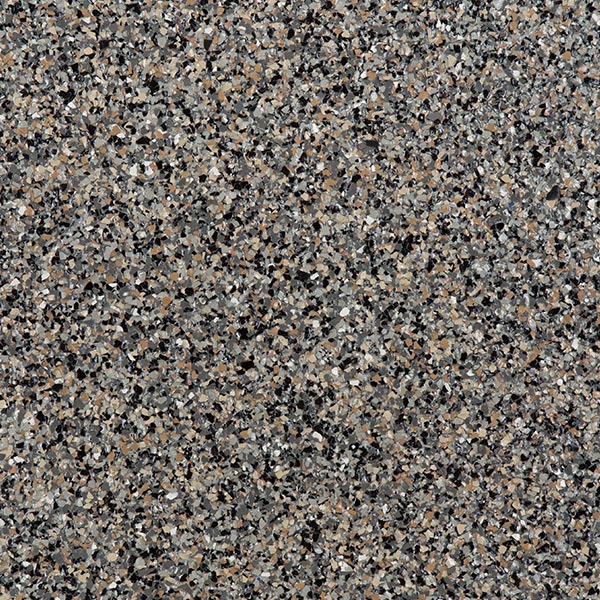
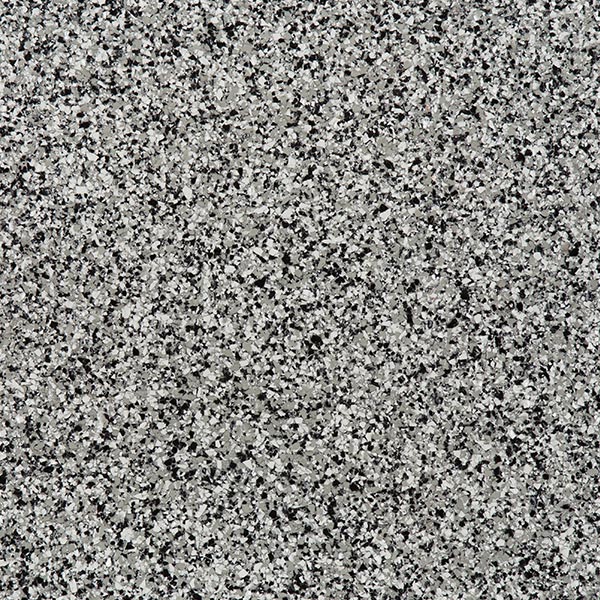
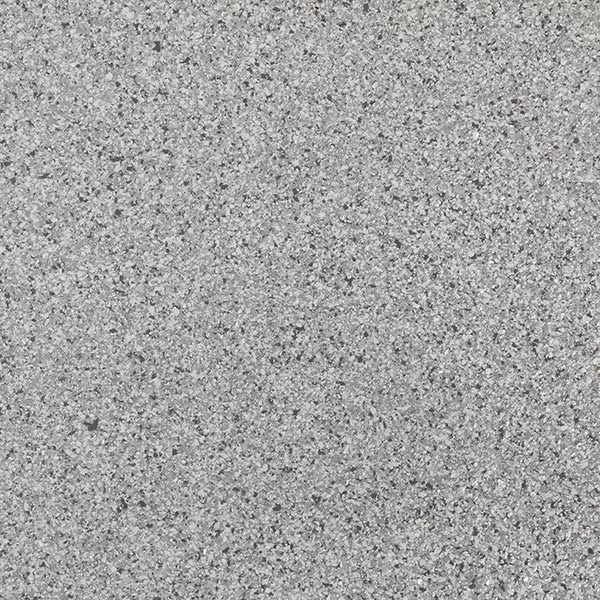
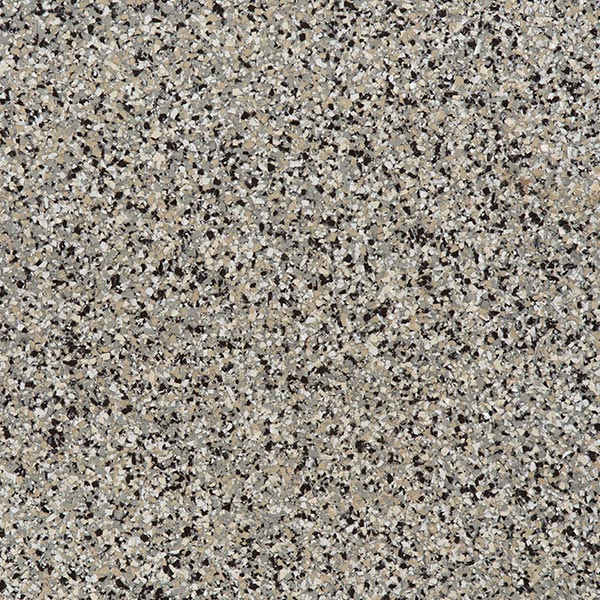
Flooring Samples
-
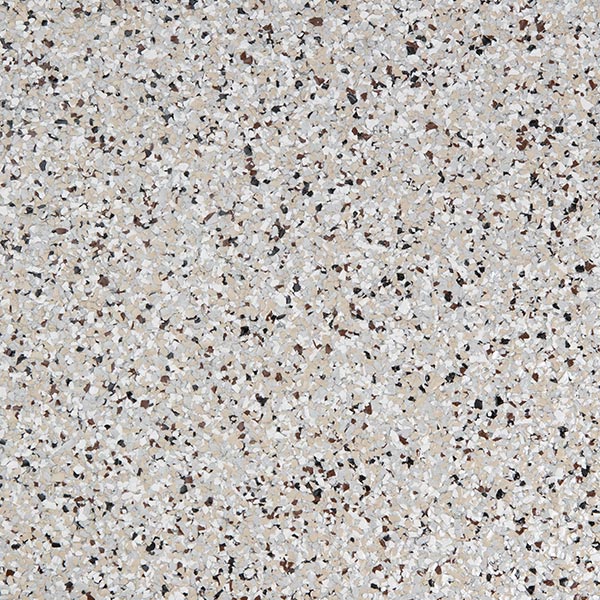
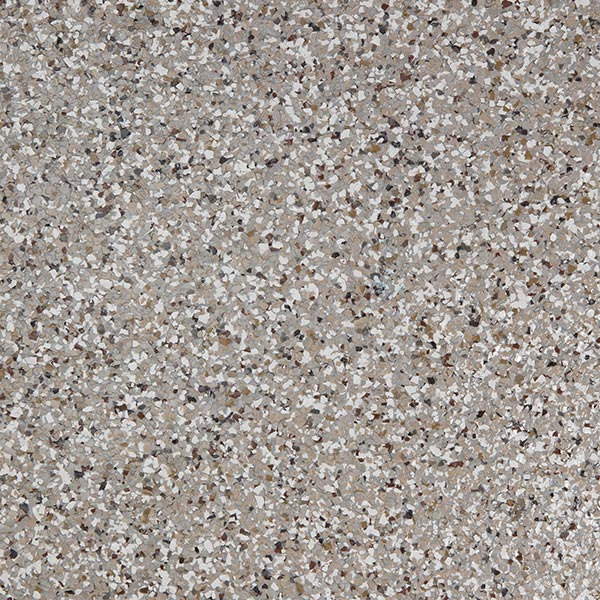
Iced Coffee 1/4 (T)
-

Sanibel 1/4 (T)
-
Mojave 1/4 (T)
-
Gulfshore 1/4 (T)
-
Sedona 1/4 (T)
-
Iced Coffee 1/8 (T)
-
Scottsdale 1/8 (T)
-
Sedona 1/8 (T)
-
Dory 1/4 (G)
-
Blue Mist 1/4 (G)
-
Tidal Wave 1/4 (G)
-
Key West 1/4 (G)
-
Smoke 1/4 (G)
-
Blue Ice 1/4 (G)
-
Stonehenge 1/4 (G)
-
Silver Bell 1/4 (G)
-
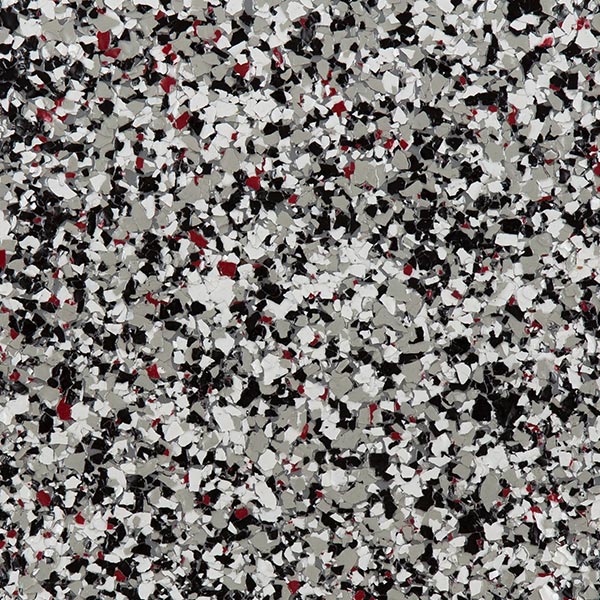
Red Smoke 1/4 (G)
-
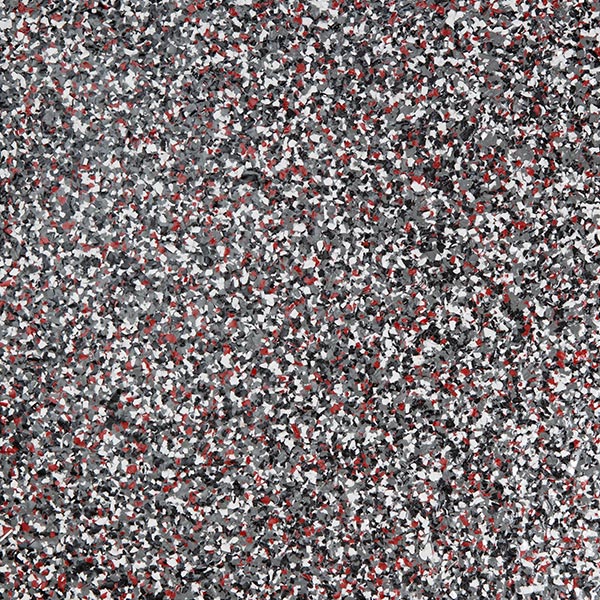
Red Ice 1/4 (G)
-
California 1/4 (G)
-
Creekbed 1/4 (G)
-
Stone 1/4 (G)
-
Volcanic Beach 1/4 (G)
-
Graphite 1/4 (G)
-
Volcanic Beach 1/8 (G)
-

Graphite 1/8 (G)
-
Smoke 1/8 (G)
-
Silver Bell 1/8 (G)
-
Stone 1/8 (G)
Base Colors: (C) = Cream, (T) = Tan, (G) = Grey
Custom Colors Available
Get a Free Estimate Today!
Whether you live in Naples, Fort Myers, Marco Island, or virtually anywhere throughout Southwest Florida, our services are available to you.
Get a Free Estimate Call (239) 949-5584